Note: If you're too desperate to solve this problem, skip to "The Real Tutorial" part. You may skip my story if you may.
It's almost a year since I got my Mac and I've never encountered any issues... Not until I've encountered the "Gray Screen of Death". I encountered this when I upgraded my OS from Yosemite to El Capitan.
Source: http://i.imgur.com/k5YHCw7.jpg

The bad part wasn't reformatting (which can probably be the worst case) but its that I didn't have backups on some of my important files so I really felt nervous. I decided to use safe-mode (command + R) and got only two options (There are actually 4 but I only had 2 lol). One is through repairing on Disk Utility and another is through Time Machine.
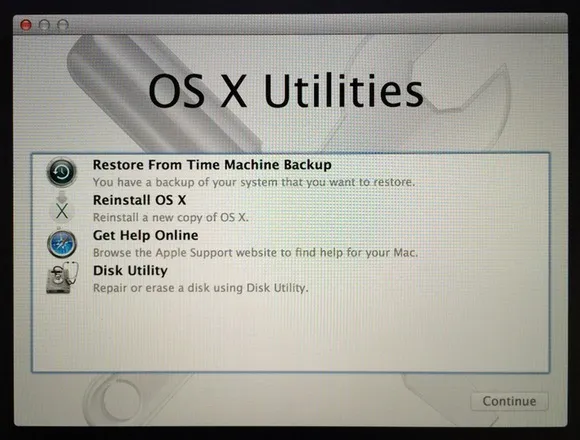
I never actually touched my time machine backup so I had no restore point. My only hope was using Disk Utility and to Verify & Repair the Hard Drive but it turns out it threw me an error something like "Error repairing disk blabla" (I can't recall the entire error message sorry). That was my only hope so I thought it was the end of the world for me 'till I figured you can use the single-user bash as an alternative.
The Real Tutorial
The single-user bash (which can be opened during bootup by pressing command + S) will open up the terminal. This was the only chance I had to restore my laptop before I can resort to reformatting my device. Of course, in order to do that, you need to restart your PC and hold command + S 'till the bootup sound stops then it will prompt you to the terminal. Your screen should look something like this:
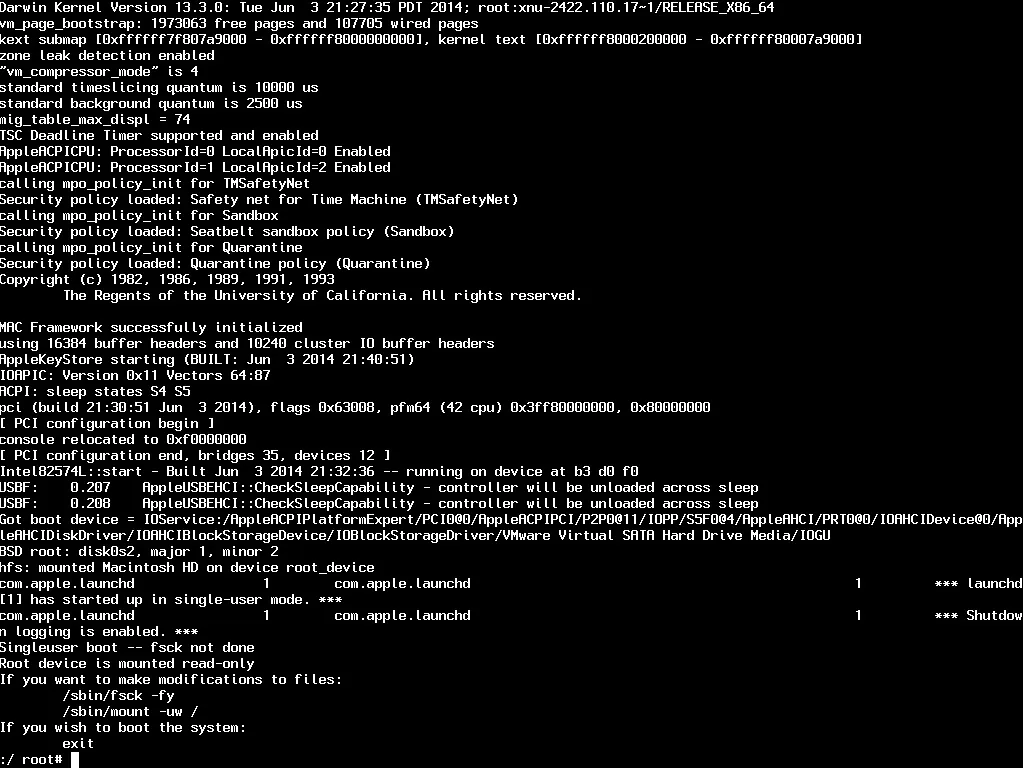
Source: http://cdn2.tekrevue.com/wp-content/uploads/2014/09/single-user-mode.jpg

First of all, you have to get the name of your storage by placing in:
df -hl
This will get your storage name and you'll be needing this for the next command. In my case, its name was /dev/rdisk02
Second, we have to repair the disk. We'll use the disk you've gotten from the first command.
sudo fsck_hfs -l <your_disk_name_here>Mine was sudo fsck_hfs -l /dev/rdisk02
This will verify and repair your PC (like how its normally done on the Disk Utility). We'll need to check if its a major problem. If it fails, you'll have to enter the next command but if not, you're free to reboot the PC now.
For the third step, if there are still error messages on the second command, we'll have to use a force repair command otherwise you may now reboot your PC. Do not this step if you've succeeded the second step not unless you're sure about it. Type in:
fsck_hfs -rf <your_disk_name_here>Mine was fsck_hfs -rf /dev/rdisk02
This will force a repair recursively on each directory. The entire process from step one 'till the end is about 15 - 20 mins depending on your PC so you might want to be a little patient. Once it's all done, type in:
reboot
and by now, things should go smooth sailing. Once you get to log in, I'd suggest to backup all your files and use Mac's Time Machine functionality to automatically restore your files once this happens again. Happy debugging!

Tech interviews have to change, seriously...
Learn how to create REST APIs using NodeJS. All from scratch!

Learn to create a grocery list app within 30 mins using Python